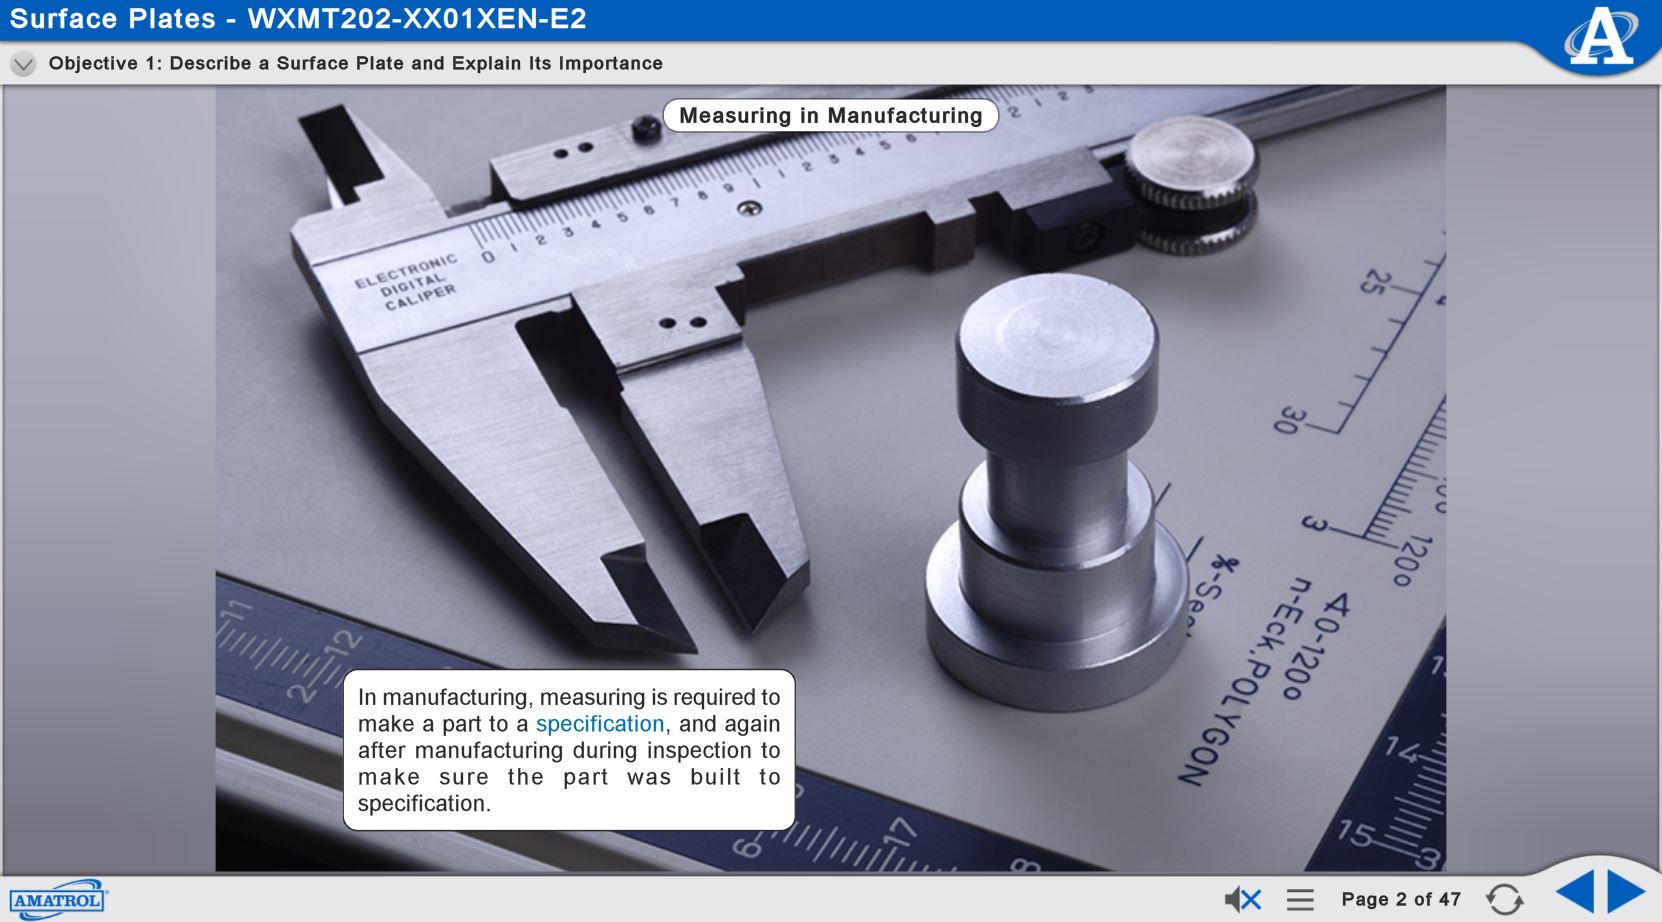
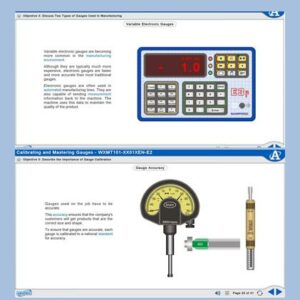
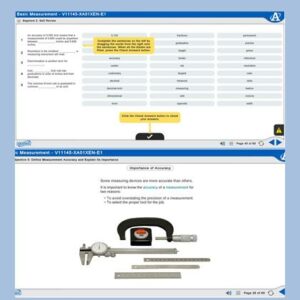
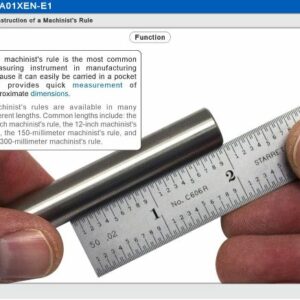
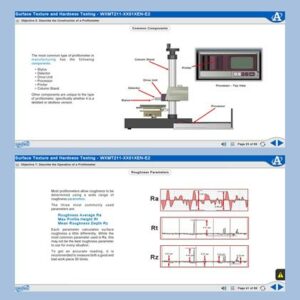
In manufacturing, measuring is required to make a part to a specification, and again after manufacturing during inspection to make sure the part was built to specification. Measurements must be started from a known reference point. The surface plate, which represents flatness, is the most basic and common starting point for the most inspection work because it defines a flat plane.
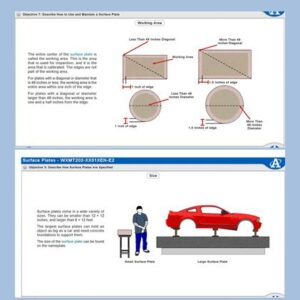
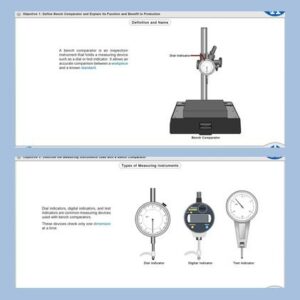
A surface plate is a solid, flat plate used as the main horizontal reference plane for precision inspection, layout, and tooling setup. The surface plate is used as a baseline for all workpiece measurements. Though it may look like a simple block of stone, it is actually as precise an instrument as any other in the factory. Without an accurate surface plate, even some of the most complex inspection instruments are useless. All of the instruments shown here are useless without an accurate surface plate as a reference point. Surface plates are used for inspection, both in the shop and in the inspection area, for layout, for quality control, and for setting tools precisely.
